Tuesday, April 11, 2023

Adding Gradients Before Painting Shadows and Textures

Once I have all my shapes filled with flat color I will want to add some gradients to some of the shapes.

I make my gradients subtle by using 2 colors that are closely related but usually not the same hue or saturation. This gives the shapes a slight illusion of color depth rather than having only cold flat colors.

For example on the muzzle area of the bear I pick the color I used for the flat fill and for the other color I slide the cursor on the color selector slightly up or down, left or right to find a color that looks just a bit different than the first color.


2 colors show at the bottom of the tool bar

 
Then I select the shape I want to add a gradient to. 

Once selected I click the gradient tool and choose the type of gradient I want. In this case I chose the linear gradient on the left.

I then drag my cursor across the shape in whatever direction I'd like my gradient to appear.

I use this process to make a few gradients out of some of the shapes that make up my cartoon image. I generally don't fill small areas with gradients.

You can see gradients on the muzzle, the tongue, the shirt collar and the nose.

Now the image is ready for the final step - rendering shading and textures using the Photoshop brushes. 

This is a follow-up to these 2 posts below:

1 digital inking painting

2 Filling Inks with Flat Colors 

Friday, April 07, 2023

Thanks to Journal Standard Clothing

A few months ago a Japanese clothing line approached me about illustrating some shirts and sending some art to display at one of their stores in Japan.


There still are a few shirts available:

https://baycrews.jp/item/detail/journalstandard/cutsew/23071600931010

They invited me to a special meet and greet event that happened on March 28 2023.

I was happily surprised to see how many Japanese fans Ren and Stimpy had. The event was packed for the 3 hours it took place.

Many of the fans were cartoonists themselves and some darn good ones.

These 2 pages were drawn by a 16 year old lad named Uni. He spoke perfect English and was extremely enthusiastic about becoming an animator. He draws better than I did when I was 16! I'm sure he'll have a great career. To see more of his work - @uni1015m


Rurumu is another cartoonist I met and she brought a big suitcase to show off some of her Ren and Stimpy merchandise. 

She posted a diorama she made of the opening scene from Stimpy's Invention on Instagram a while ago. She sculpted Ren, Stimpy and the mounted fish and built the room around them. Amazing.


Mina was there and she had a really good sketchbook of cartoons she drew. Here's her design for a holographic card she gave me.


Lisa was a big fan and she even had an original T shirt from the early 90s.

I met another cartoonist who gave his name as OPMM.


He has an exhibition going on now as well. I especially like his Rat Fink inspired figures with the erotic ears.

While I was in Tokyo I visited the Odd Job animation studio. They gave me a nice tour of their facility and were very proud of their own collection of vintage toys.


They have their own toy figure too and they gave me one which I eagerly added to my own nerdy collection.
 

There was a lot of gift giving and receiving during the week and here is a pic of some of the treats I brought back with me.

If you happen to be in Tokyo my exhibition is still going on until this Sunday April 9 2023.

The address is: 

Journal Standard Omotesando store (Cat Street)

5 Chome-25-4 Jingumae

Shibuya City, Tokyo 150-0001


Special thanks to Kishibi-san, Mami and Takayama-san and the Journal Standard crew that brought the event and collaboration together!

Friday, September 30, 2022

Filling Inked layers with color in Photoshop

Once I have my drawing inked and all the different shapes organized by folders and layers I'm ready to start dropping flat colors into the shapes.

 I want to get from here

to here

Note how all the groups and layers are organized:


I'll take my line drawing of the head silhouette and turn off some of the layer groups to make the color filling easier to follow.

I turned off all the facial groups and am going to fill the 'sillo' area of his head. Inside the sillo folder I'll make a layer called 'fill' under the line layer that's named whatever the shape is - in this case also 'sillo' like the folder.

Now, using the magic wand tool I select the empty inside of the shape. The shimmering broken lines show the area that is selected.


 Then while holding the shift key down, I also select The line itself.

Once the entire shape is selected I want to make it 1 pixel smaller all around.

I go up to the menu and drag down the 'select' menu to 'modify' and 'contract'.

Now it's ready to fill with color.

I click the color square at the bottom of the tool bar.

A window appears showing the current last selected color. I don't want this color so I'll change it using the slider to change the hue and the cursor in the big window to change the saturation of the color to what I decide to use. I click OK.

With the 'sillo' layer selected I then click  shift-F5 and it fills the area with color.

I then select another inked area to fill with color and go through the whole process again.

Eventually everything will be colored but this is not how I want to final drawing to look. 

All these steps just produce a tool for me, an organized image that can be easily painted with brushes.
I want it finally to look like a rendered cartoon painting like you used to see on coloring book covers or in Golden Books.

Next step: Filling some shapes with gradients.

Monday, September 26, 2022

Prepping a drawing for painting it in Photoshop

People have asked me how I do my digital cartoon paintings so I'll attempt to explain it.

I'm sure there are many ways to do this but after years of trial and error this is the system I use.

First I draw a cartoon on paper. Then I scan it in and open it in Photoshop.

Once it's open, I up the resolution to 500 or 600dpi. A high resolution will make the final inking and painting crisper.

Before I start actually painting or shading any of the drawing I have to take some steps to prep the drawing to make it easy to paint. Basically I create a flat inked and colored drawing that has no shading yet. It looks like a 2d animation cel. 

This takes a few steps and a lot of layers and folders.

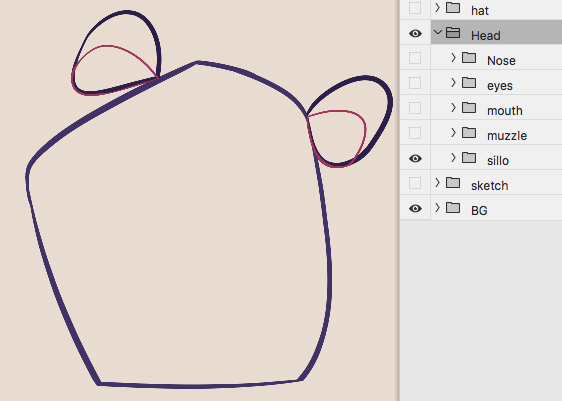
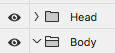
Usually I start by making a couple folders in the layer window, one for the head and one for the body.

 For the purposes of this post I am just going to prep a head and a fairly simple one. I use the exact same procedure for the body when there is one.

1) Inking

I do the biggest shape first which usually is the overall silhouette of the head. I make a folder and call it 'sillo' for short. I make a layer in the folder and call that 'sillo' as well.

For more details on how to ink cleanly see my new Patreon site.

Then I trace the head shape using one of Kyle's Ultimate brushes called 'Smooth Criminal'. It's a very good inking brush with no fuzzy edges.

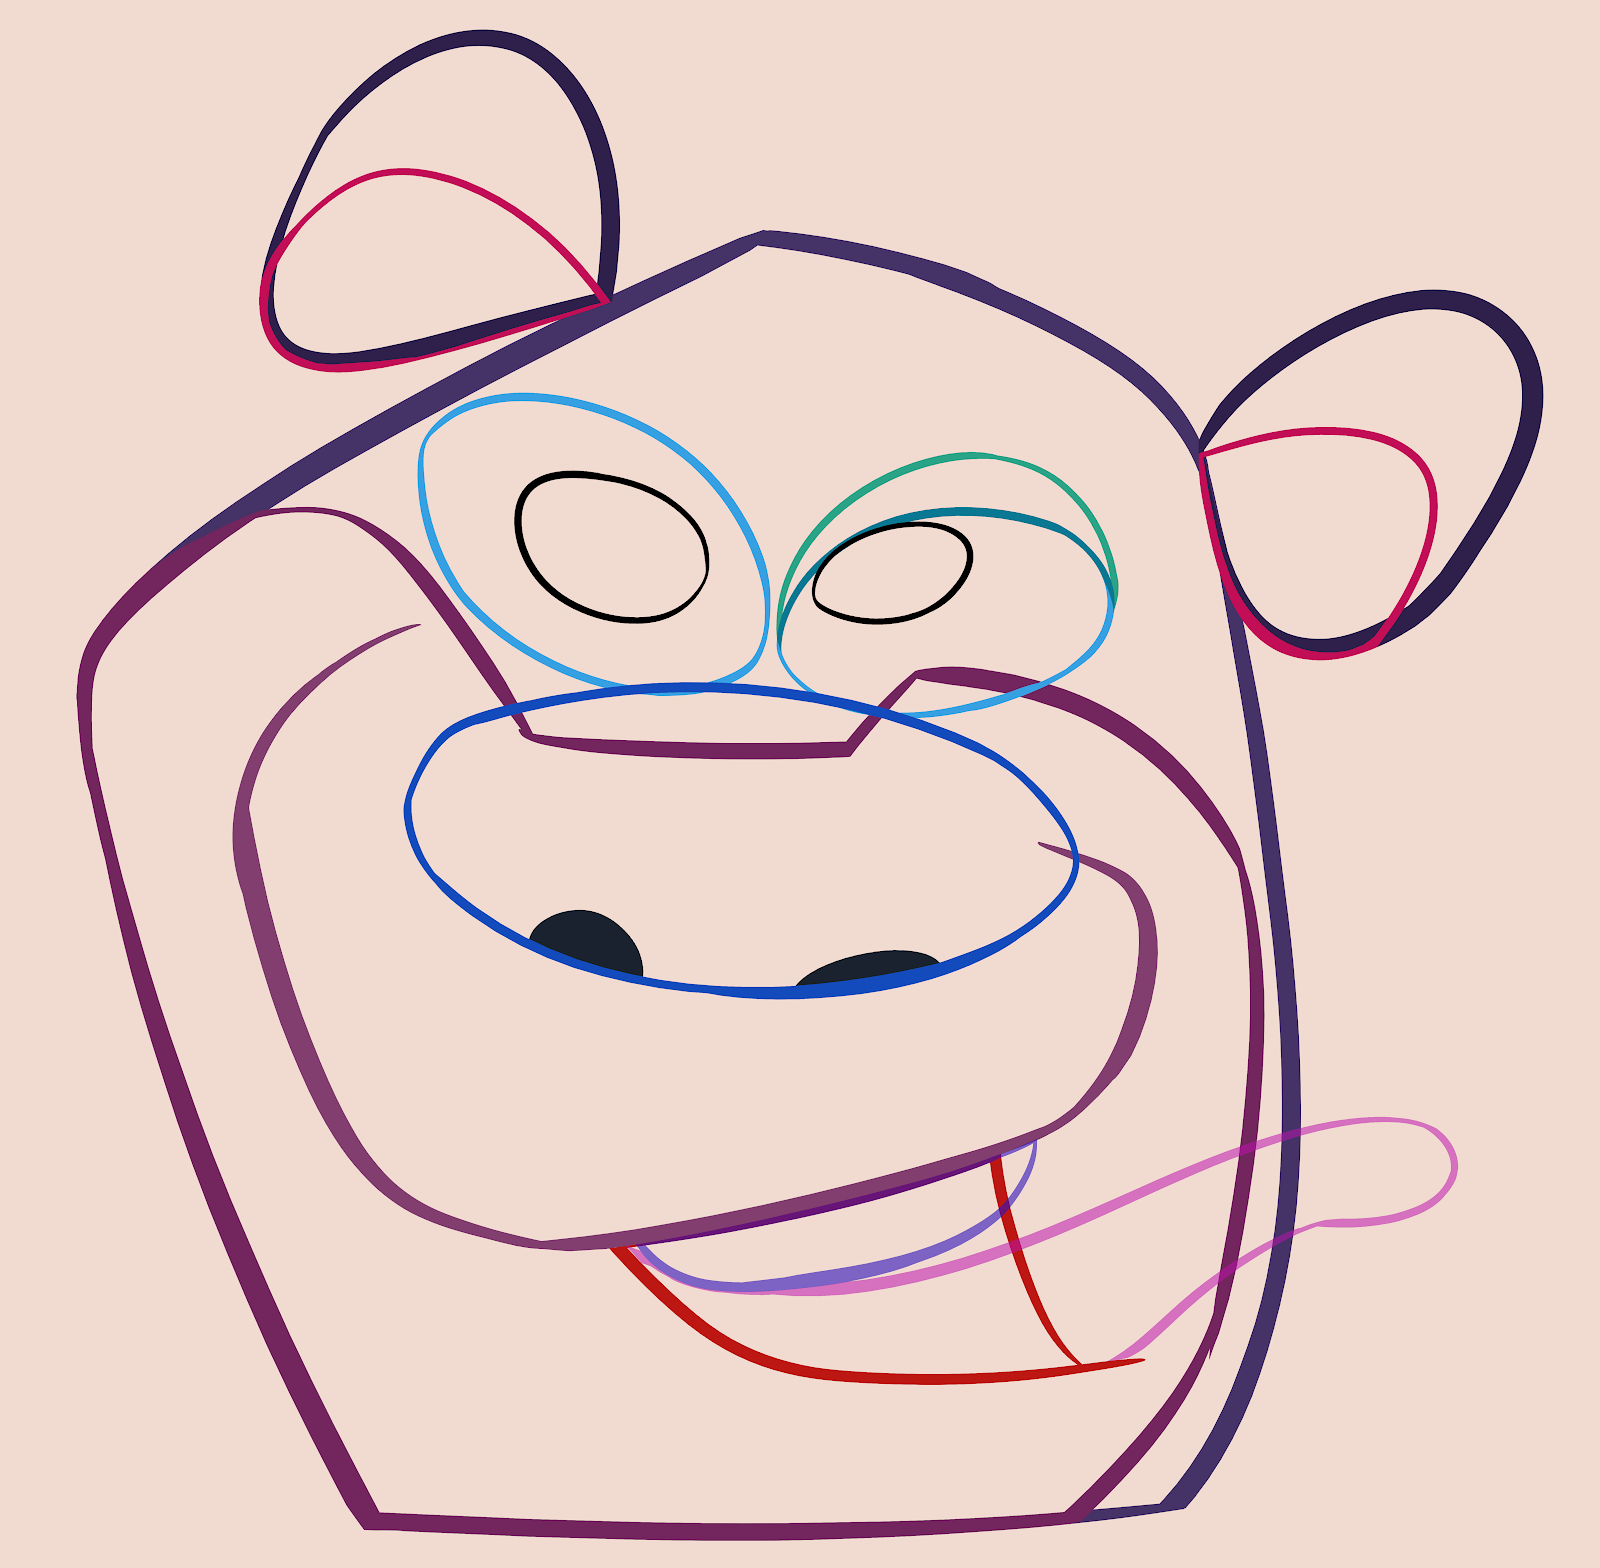
After the head I ink the next biggest shape which in this case is the bear's muzzle. I create a folder within the head folder and call it 'muzzle'. A layer inside is also called 'muzzle'. Every shape will get its own folder which keeps all the layers in an easy to understand hierarchy.

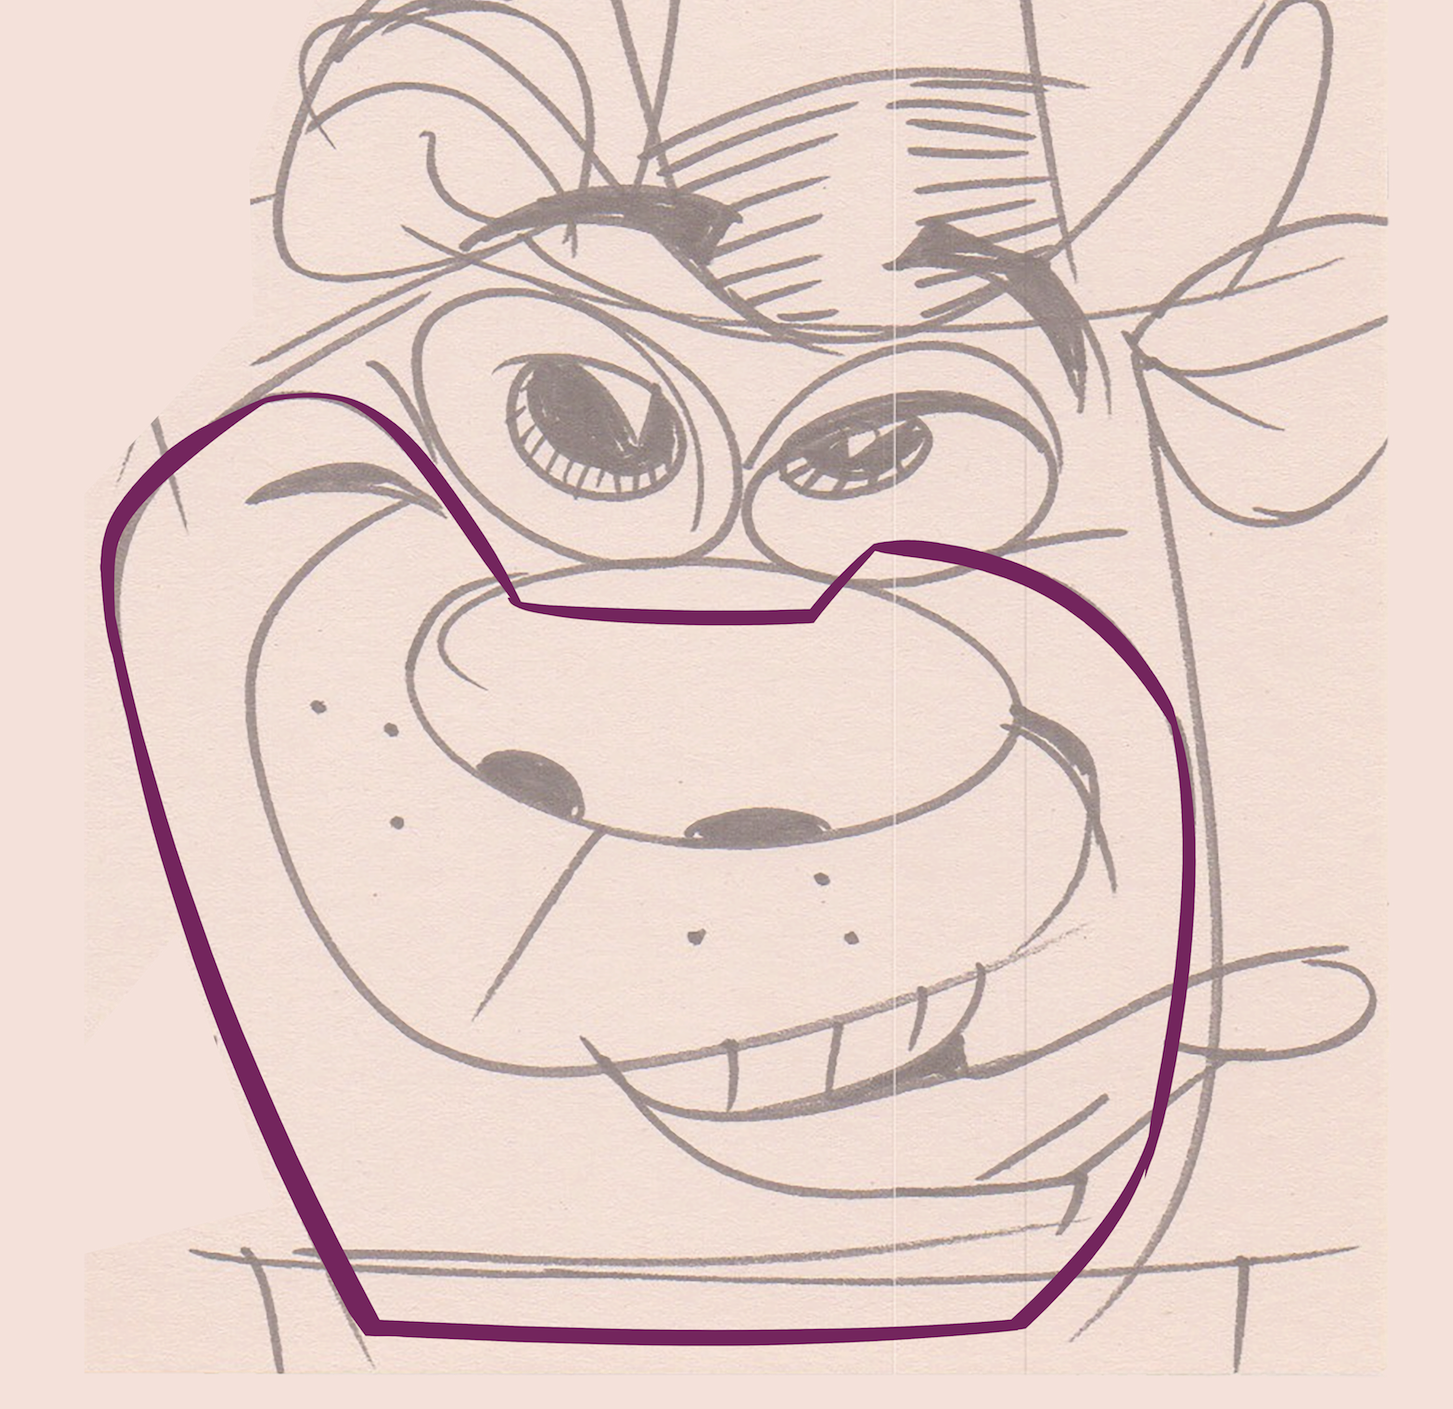
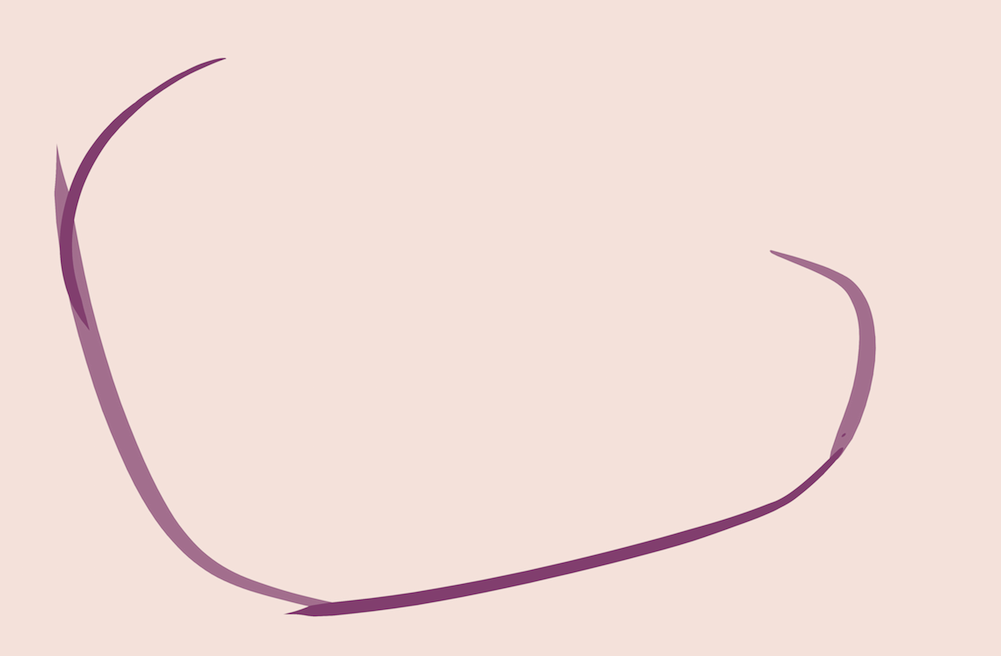
The next biggest shape is the mouth area so I ink that next. (I work my way down from the biggest shapes to the smallest shapes.)
BTW, I don't get a perfectly clean inking in one step. I ink each shape slightly rough and then clean it up after.

You can see that it took 4 strokes to get the shape of the muzzle. Each stroke is on a separate layer. 

Then I clean up where the strokes overlap to get a smooth shape. In order to do this neatly I clean one stroke at a time by turning the layer transparent so I can see where the lines overlap. I erase the overlap and then make the line opaque again and turn the next layer transparent and repeat the process.

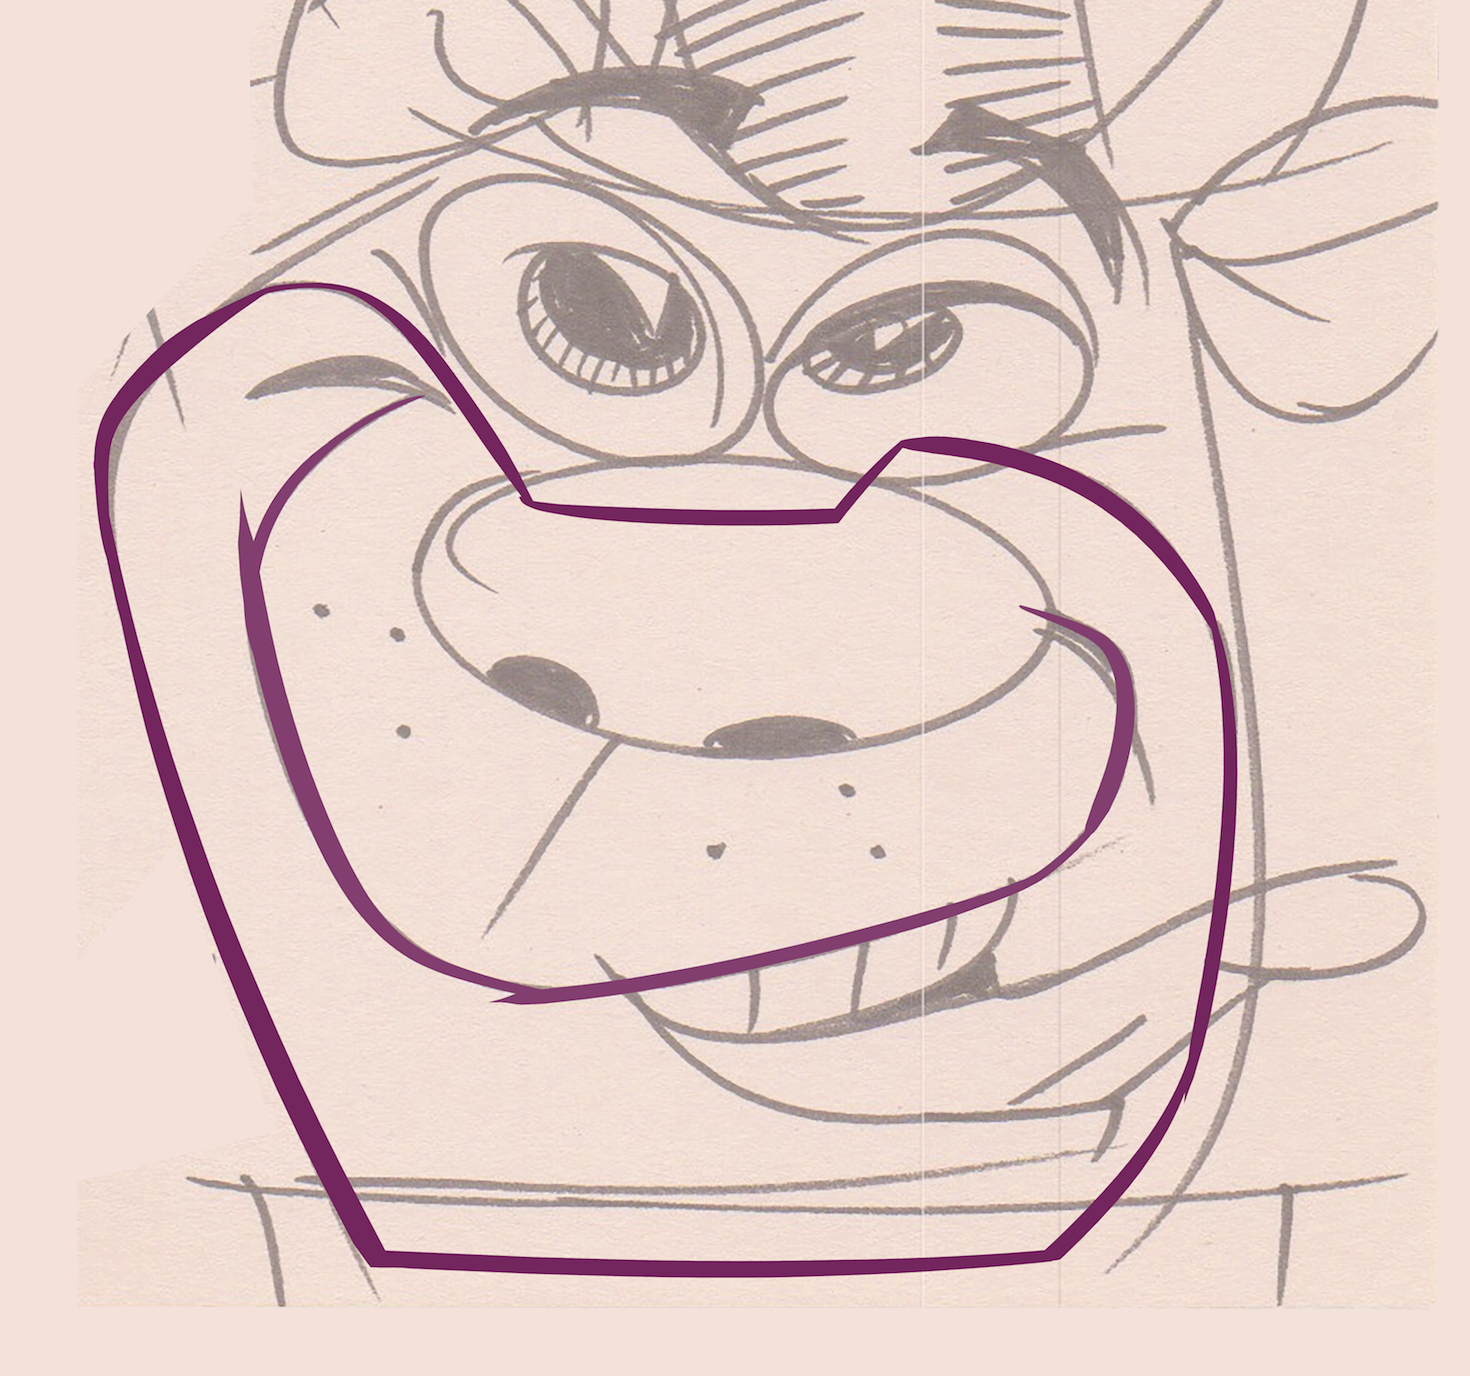
Once all the layers have been cleaned up I merge them together to make just one layer.

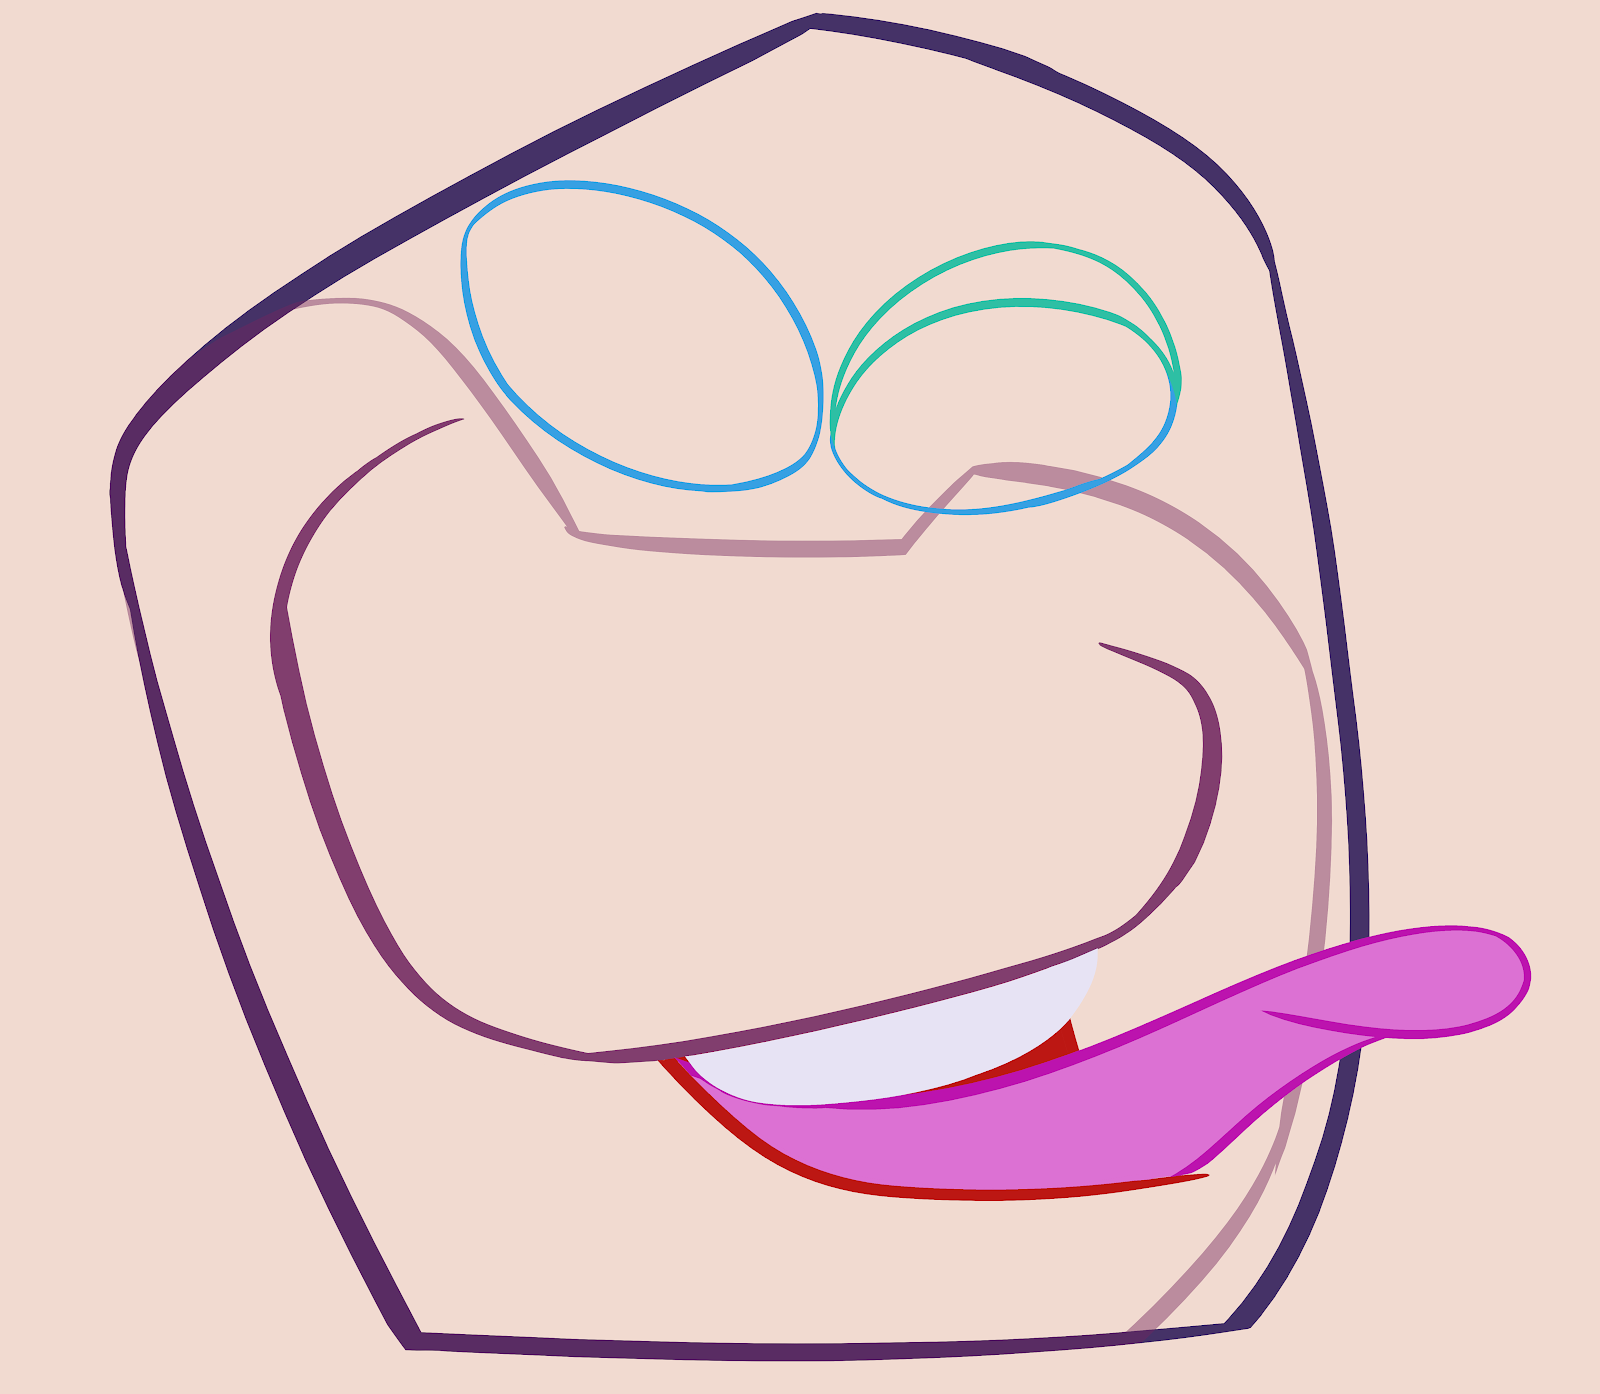
You'll notice that this shape is not completely enclosed. I use the paint bucket to fill the shapes with color once I'm ready to color the whole drawing but I can't fill a shape with a color if it isn't completely
enclosed.

So for this muzzle I will make another layer to complete the shape and call it 'connect'. 

I don't want to see that line in the final painting which is why I keep it on another layer. Once I fill it with color I can turn off the enclosing line.

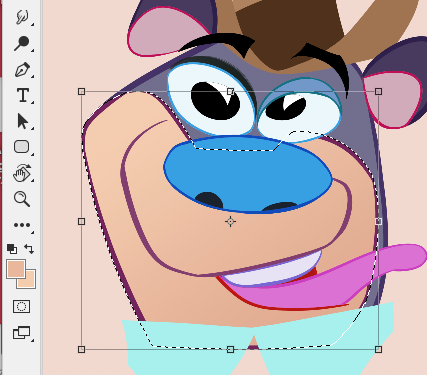
To fill a shape that is on 2 or more layers you have to select the shape by clicking the magic wand and also clicking the box that says 'sample all layers' at the top right.


...Or clicking the 3rd button at the top bar that appears on your window.


It depends on how your interface looks when you click 'W' for 'select'.

Then select the lines and the interior space.

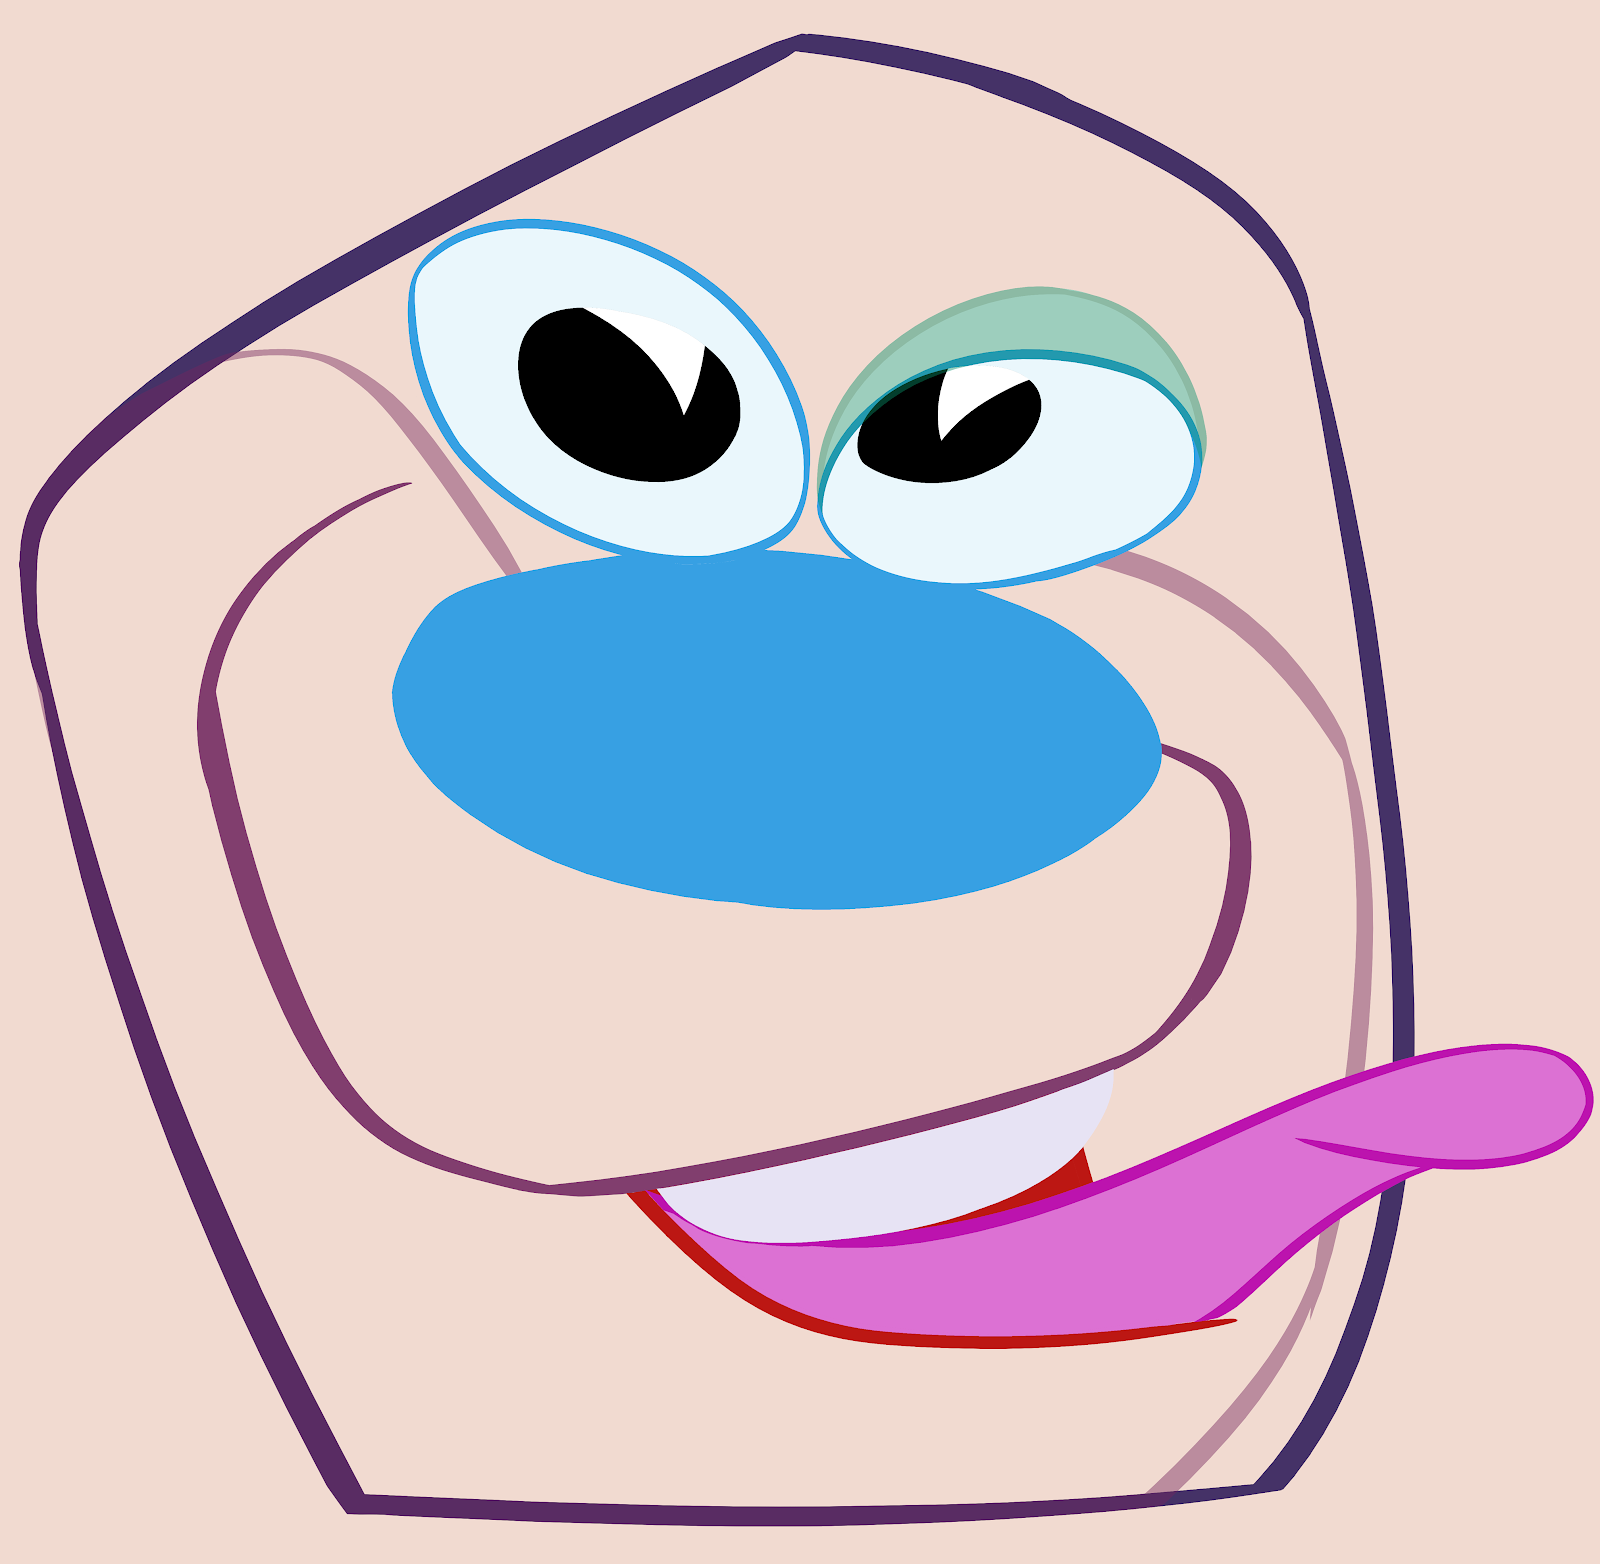
Now that the whole shape is selected I can use the paint bucket to fill the shape with a color. I make a layer under the line layers and call it 'fill'.

I use this same inking step by step approach to finish inking the whole head doing the biggest shapes first and working my way down to the smaller shapes.


Next post: Filling the lines with colors.

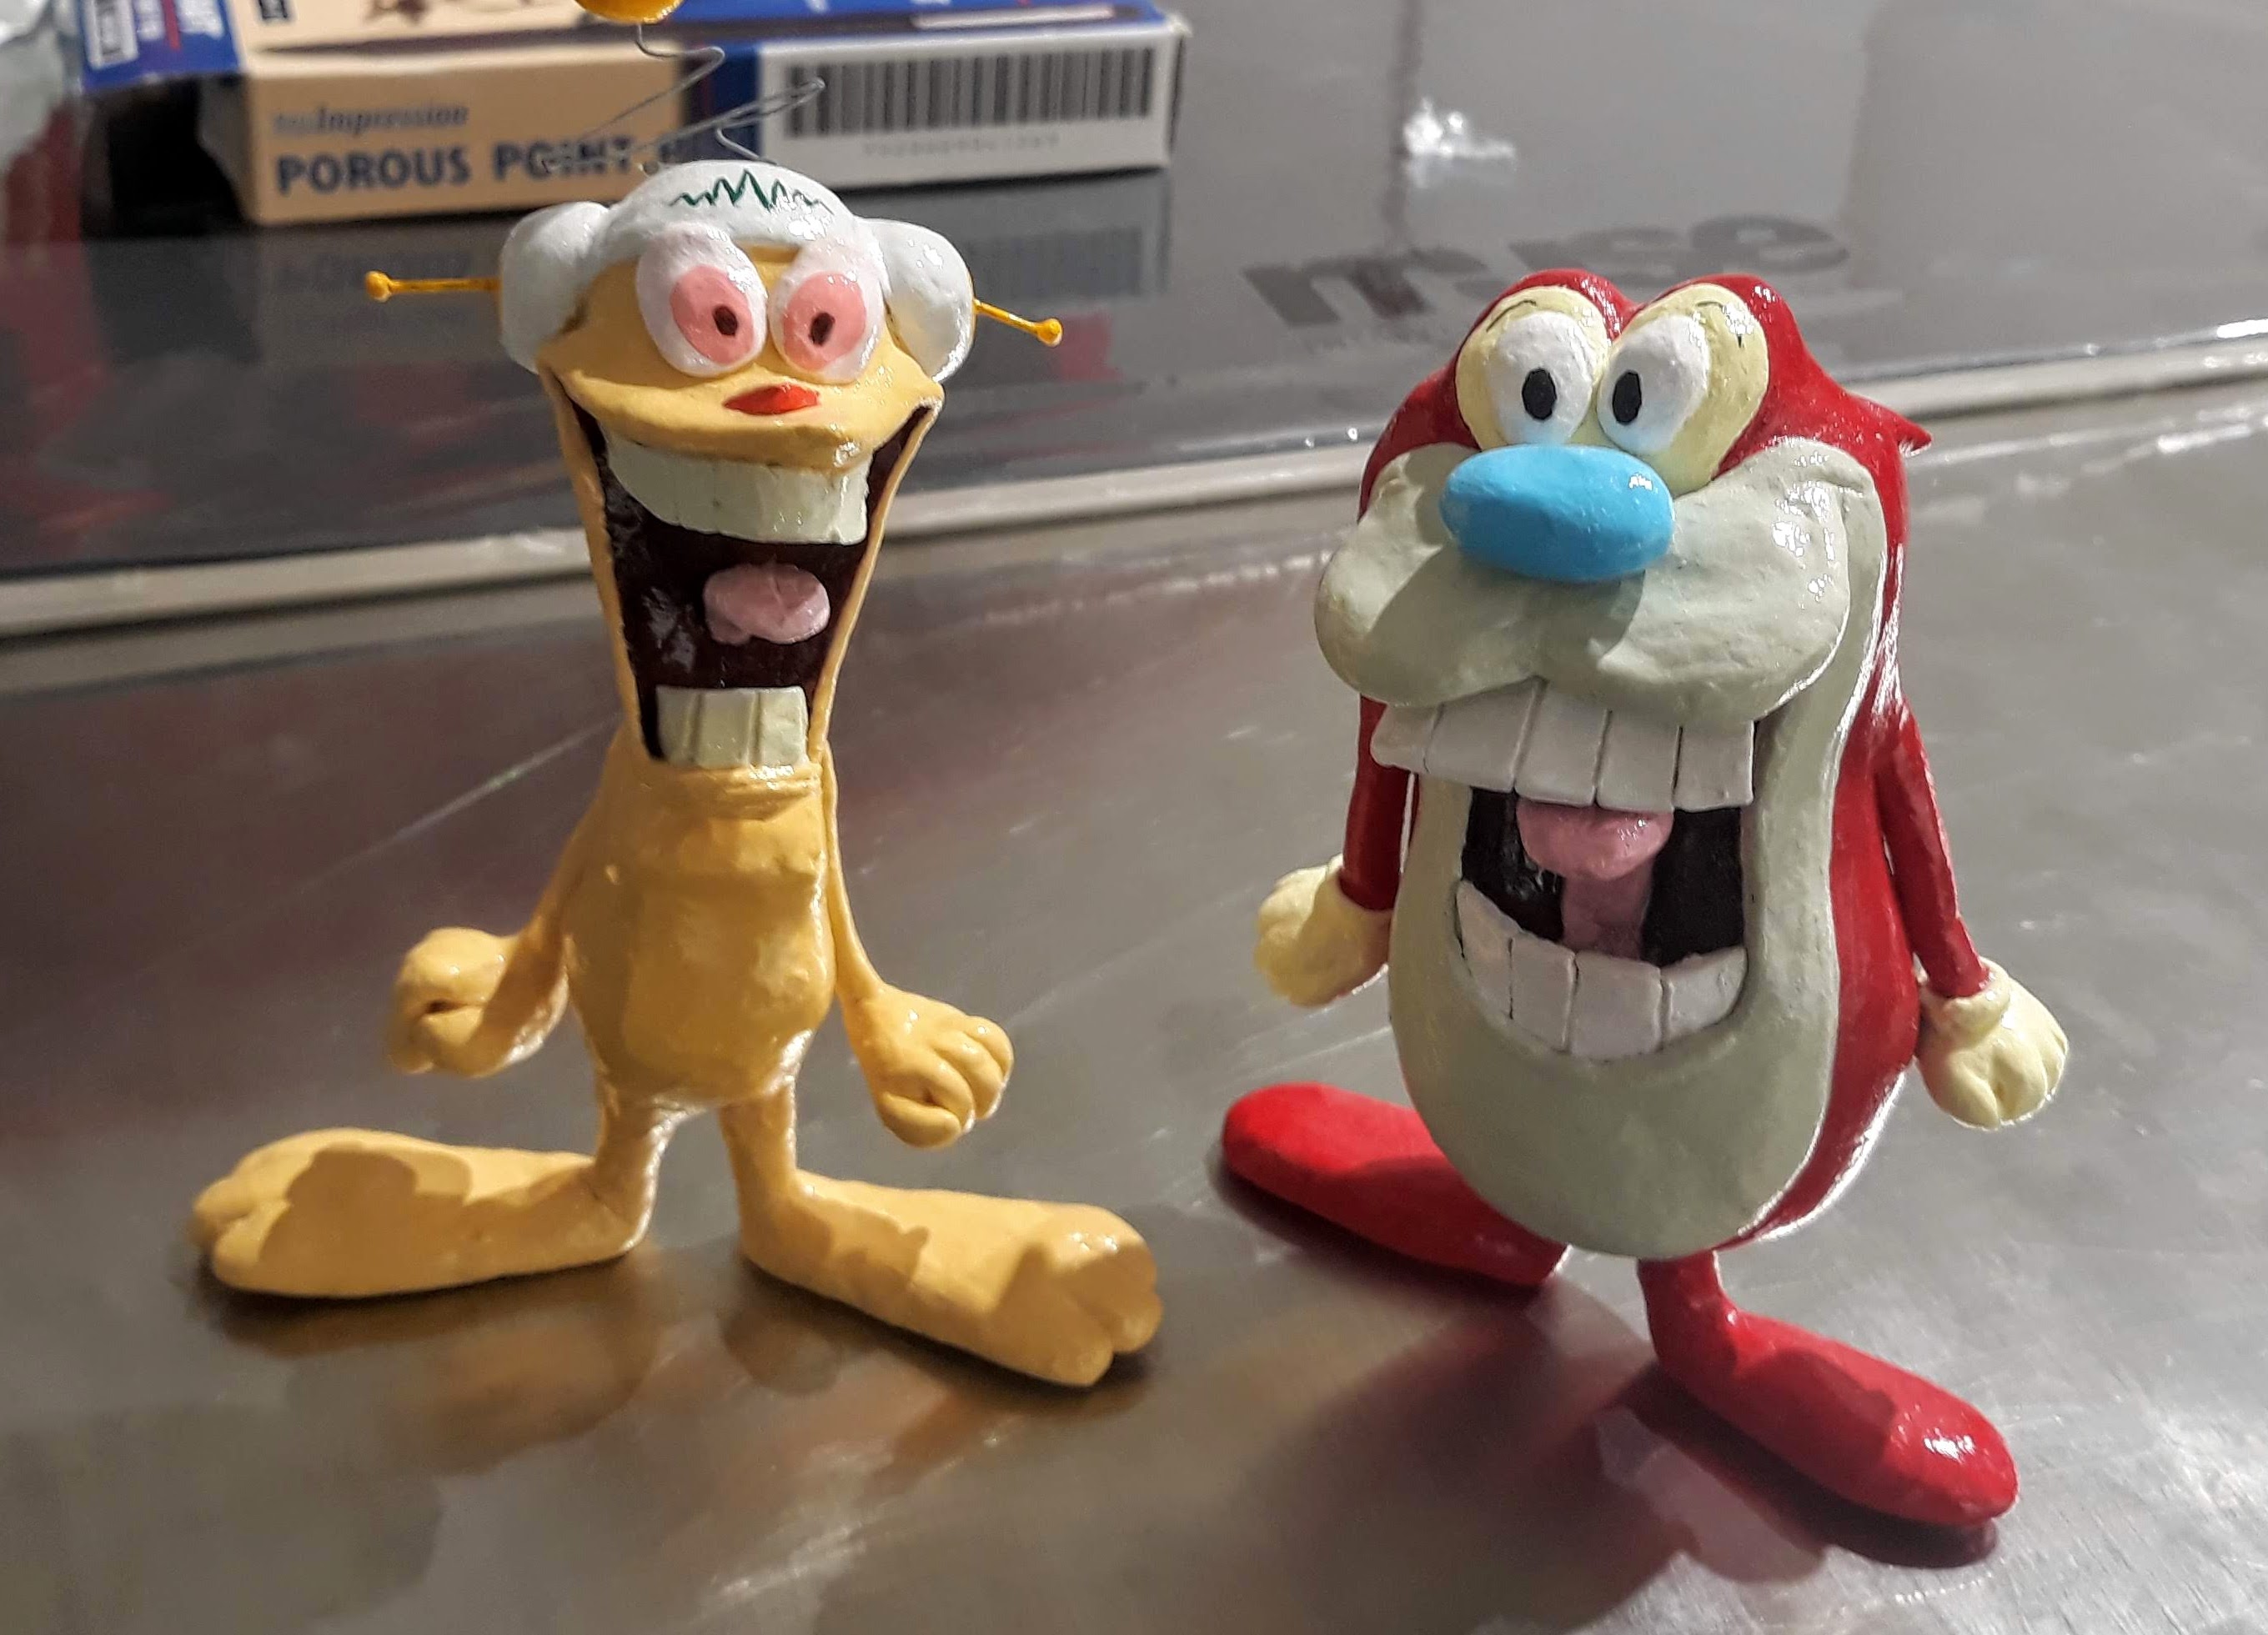
If you'd like to see more of the paintings I've done this way, you can check out my Inbred Kitties NFTs. Just click this little unfortunate guy here: